


.png)
.png) Français
Français .png) Deutsch
Deutsch .png) Italiano
Italiano .png) 日本語
日本語 .png) Português
Português  Español
  简体中文
简体中文 Pyro Ultra Support
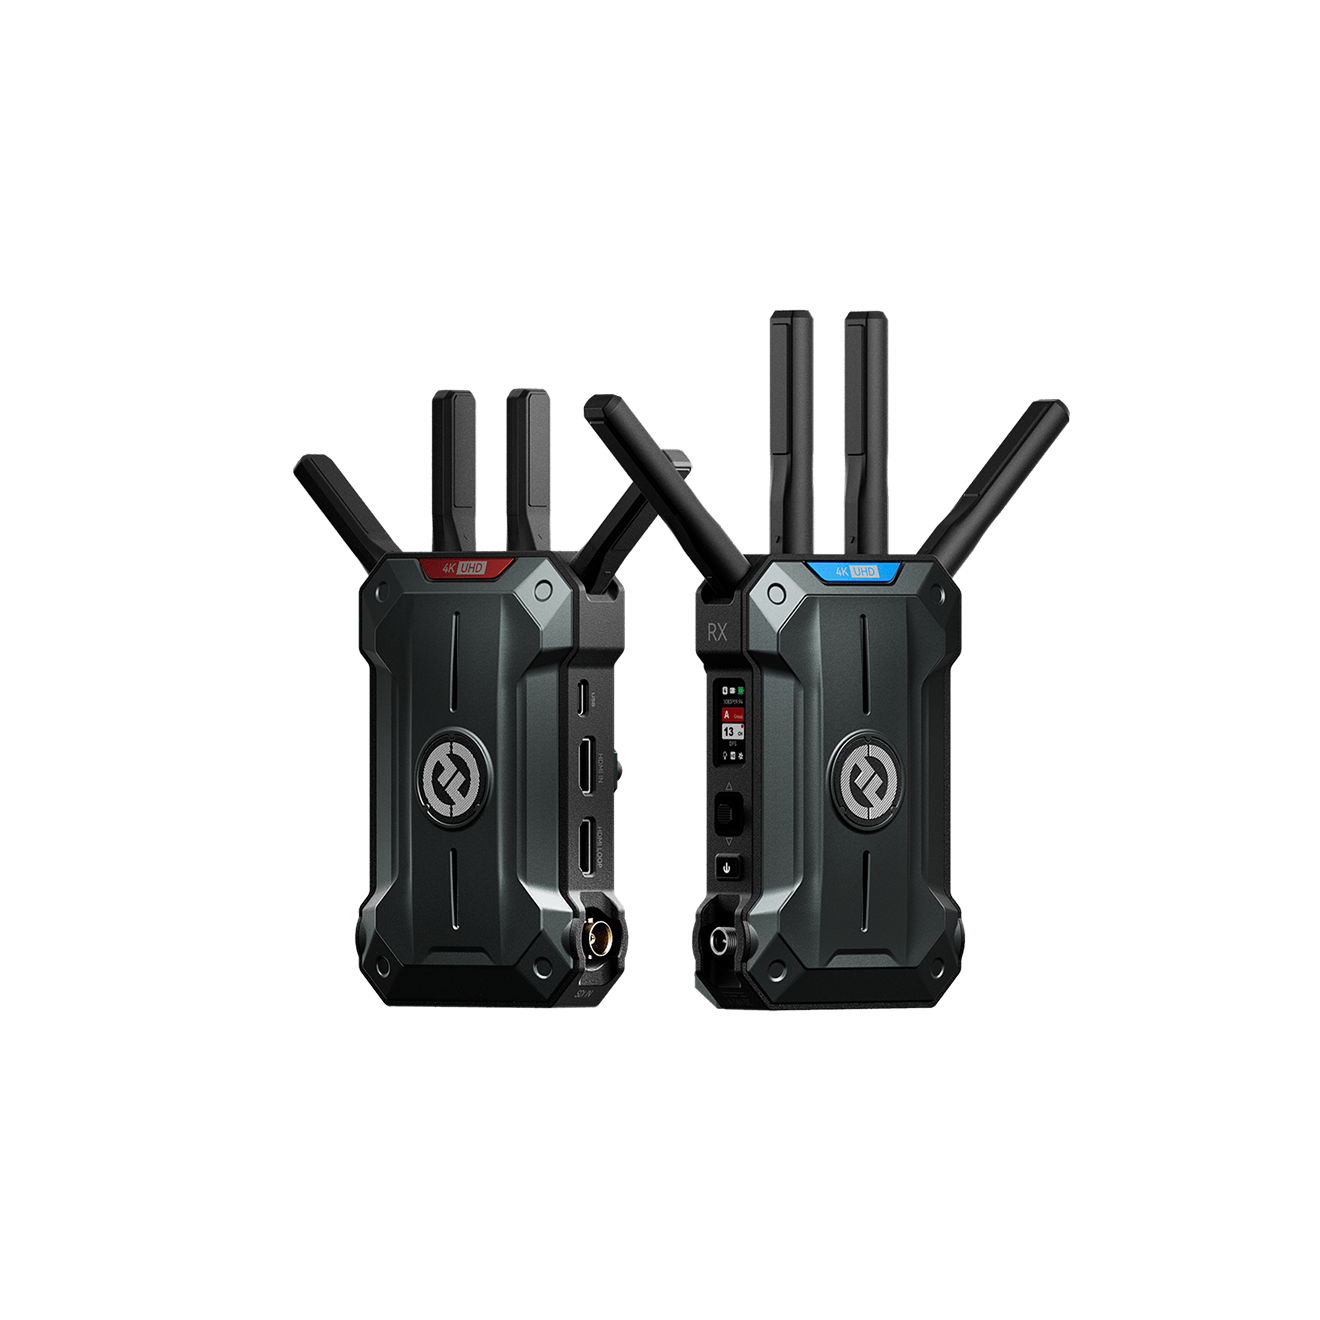
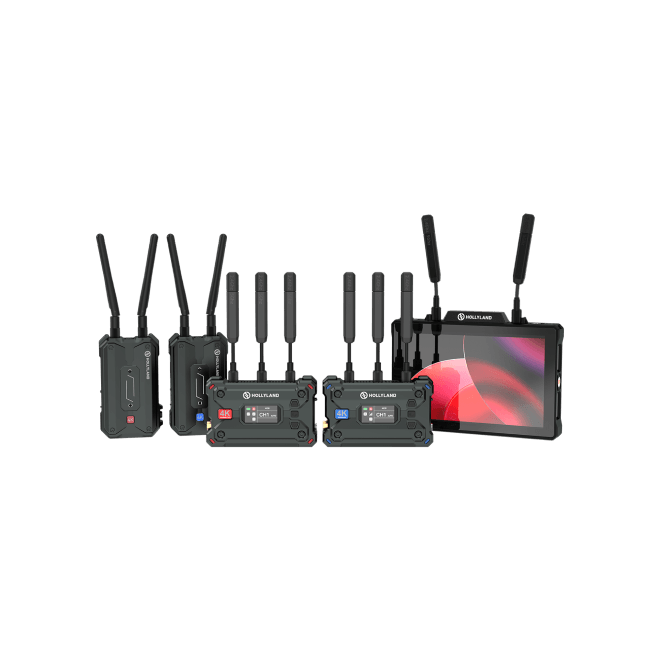
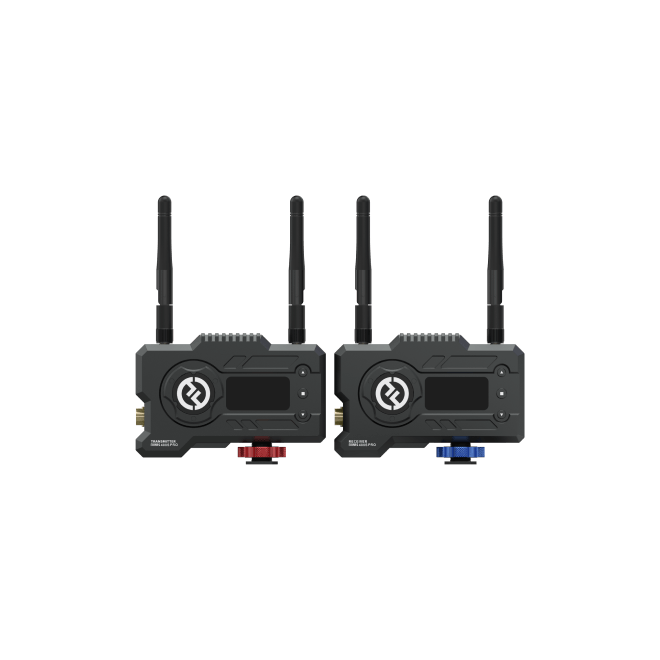
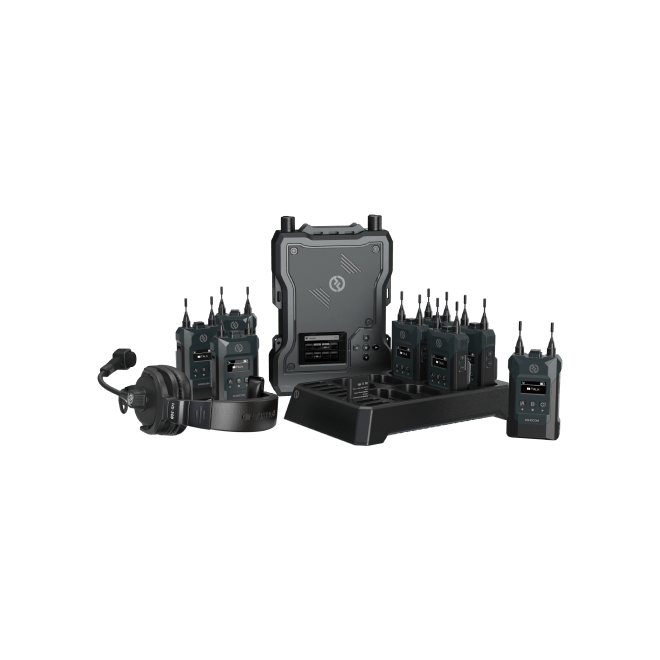
Non-Broadcast Mode: One TX supports up to 4 RXs and 2 App connections.
Broadcast Mode: One TX supports an unlimited number of RXs.
After pairing the Pyro Ultra RX with the TX, connect the RX to your computer’s USB 3.0 port (identifiable by its blue internal color) using a USB-C to USB-A cable. Then, select “UVC_xxxx” as your video source in your streaming software.
1. Connect the Pyro Ultra RX to an Ethernet adapter via an OTG adapter, or connect it directly to a docking station. A network icon will appear on the screen once the connection is established.
2. Connect your phone to the Pyro Ultra TX Wi-Fi network.
3. Open the Hollyview App and enter the monitoring screen. Tap the “RTMP” icon in the top-right corner.
4. Enter your Stream Address and Stream Key, then tap “Start” to begin your live stream.
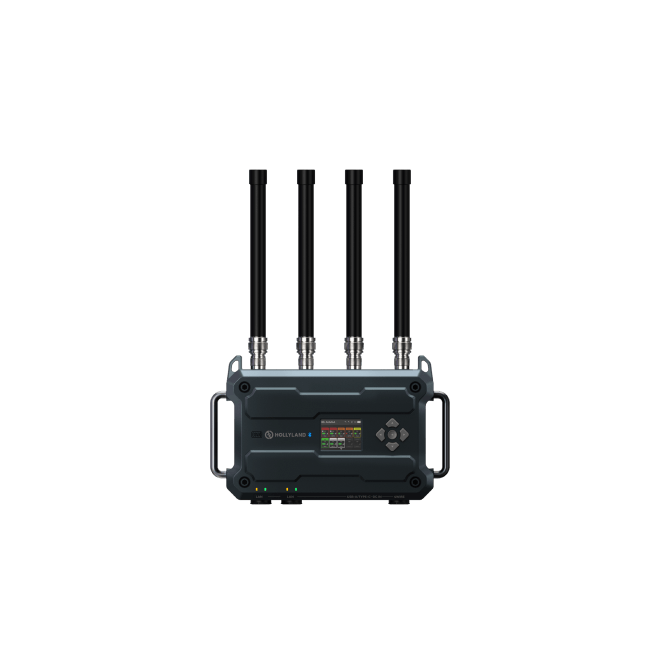
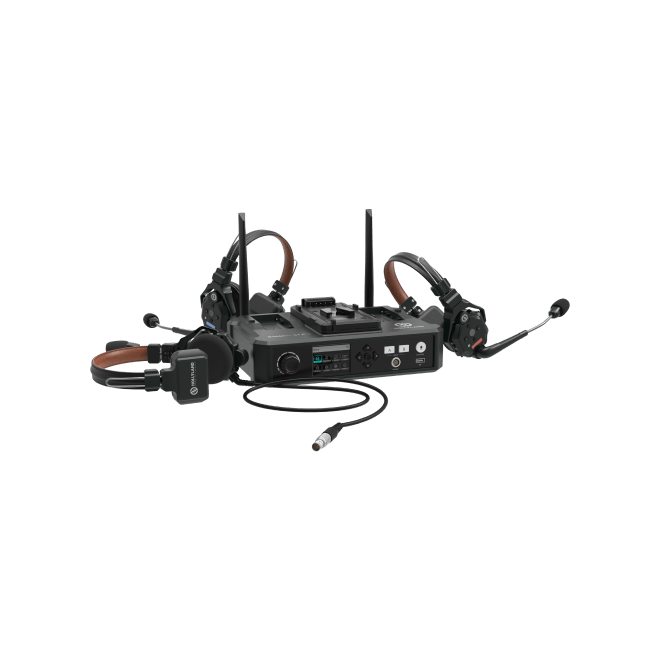
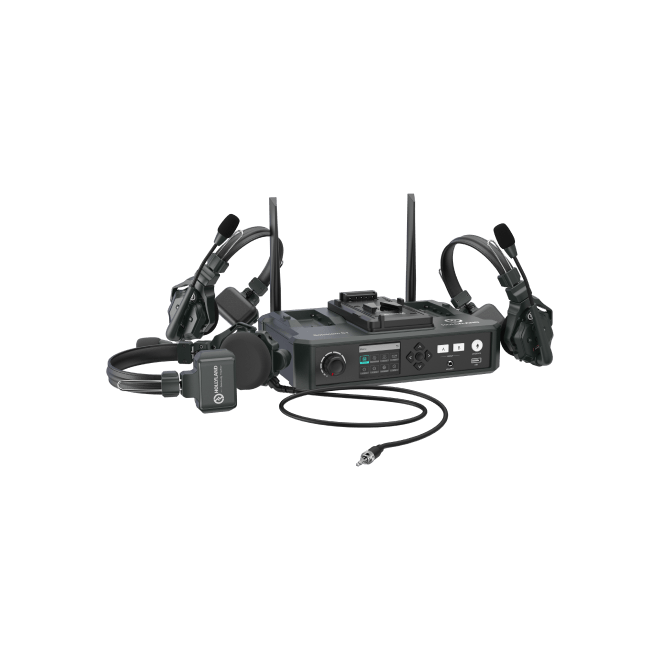
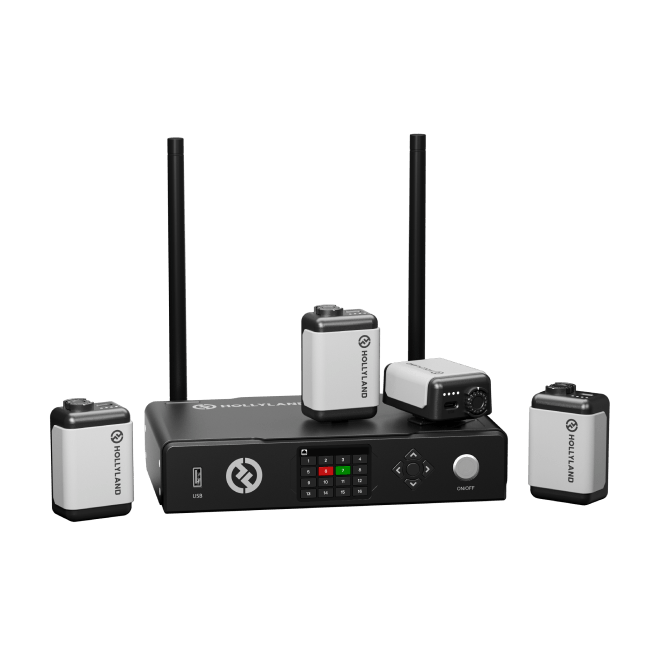
Pyro Ultra supports NP-F series batteries (970/750/550) and can also be powered by V-Mount or G-Mount batteries via a D-Tap to DC cable.
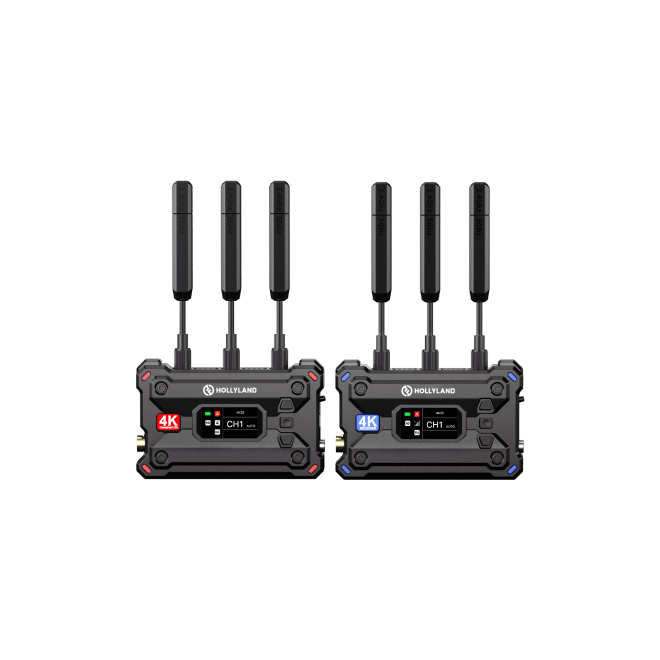
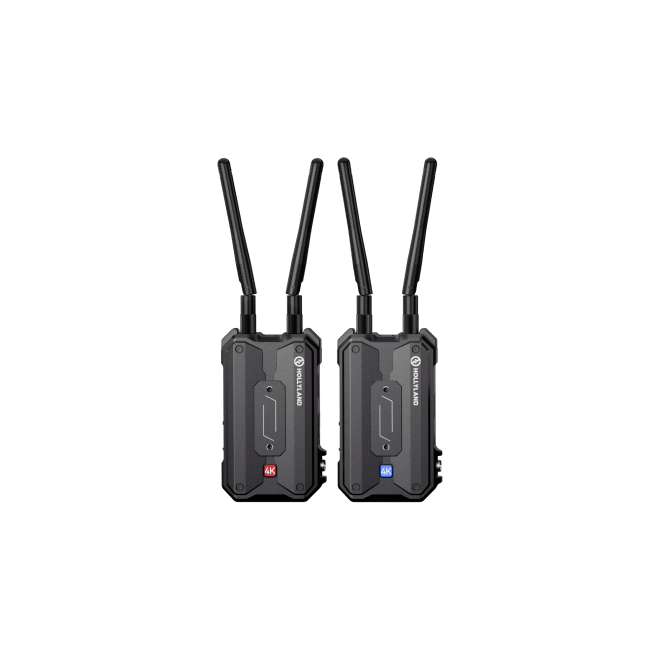
For an add-on receiver, simply set both the transmitter and the receiver to the same Group ID (e.g., Group A). They will recognize each other and pair automatically.
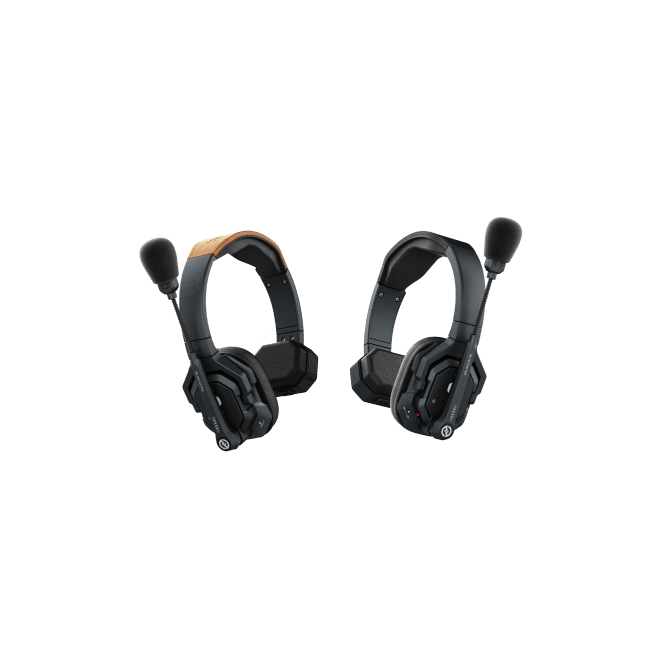
Yes. Pyro Ultra supports pairing with Pyro H,Pyro S,Pyro 7 and Pyro 5 when it works in non-broadcast mode. Pyro Ultra supports pairing with Pyro 7 and Pyro 5 when it works in broadcast mode. And the Pyro S will be supported in the future in broadcast mode. Simply ensure the transmitter and receiver are set to the same group.
When using the Pyro Ultra with Vcore, only the Pyro Ultra receiver is compatible, and it must be set to the WPS group.
Not supported. The Type-C port on the transmitter is for firmware upgrades and log copying only. The Type-C port on the receiver supports firmware upgrades, log copying, UVC streaming, and RTMP streaming.
Toggle and hold the button on the transmitter upwards. Once locked, any additional receivers set to the same group will be prevented from pairing or connecting.
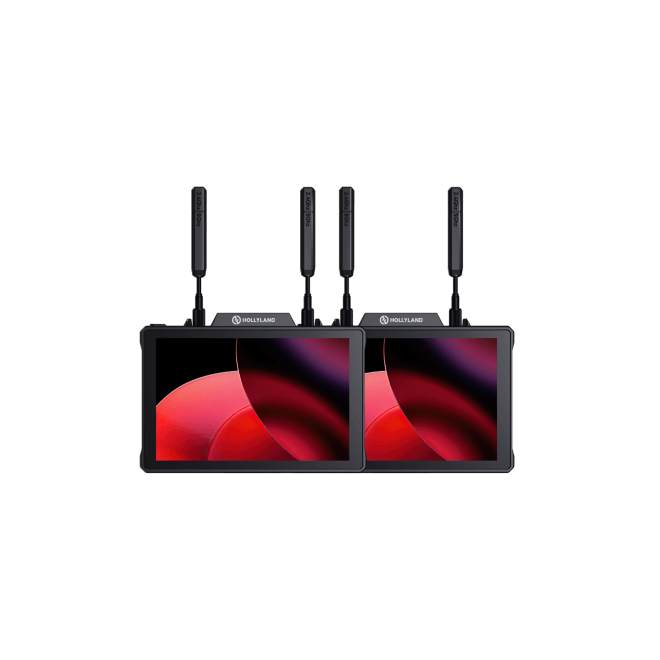
No. The HollyView App supports up to 1080p resolution. If a 4K signal is input to the transmitter, the App will not display the video feed, as it does not support automatic resolution downscaling.
Pyro Ultra supports up to 2 simultaneous App connections.
Long-press the menu wheel (middle button) on the transmitter to enter the menu, then navigate to “Freeze Frame” and select “ON” to enable the function.
The Pyro Ultra allows you to display a custom image when no video source is detected. Please follow the requirements and steps below:
The image must be a 1920×1080 JPG under 1MB. It is essential to name the file “logo.jpg” for the system to recognize it.
1. Prepare a FAT32 USB drive with a capacity of less than 32GB and place the image file in the root directory.
2. Power on the transmitter and insert the USB drive into the transmitter’s USB-C port.
3. Restart the transmitter to import the custom image.
4. Set the “Freeze Frame” function to “OFF” in the menu.
5. The custom image will then automatically display whenever the transmitter loses its video input signal.
Before attempting to connect, ensure the Pyro Ultra is operating in a non-DFS band.